
It was a big push this week to get the quilt finished.
On Tuesday, yes Tuesday, I still hadn't finished the backing. I had to get on that. Remember that this was my vision?

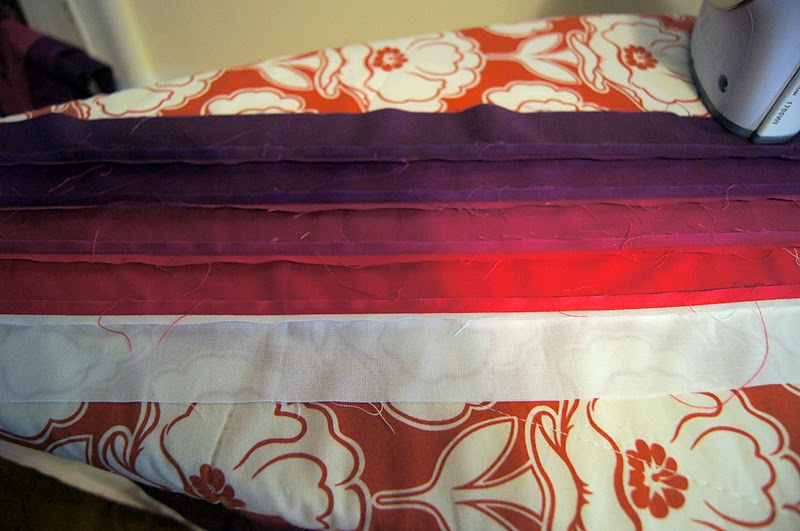

(Ironing this was one of the LEAST FUN ironings I have ever been involved in, no lie.)

(There is the entire back. I LOVE IT.)
Now, onto the basting. This is usually my absolute least favorite part, but, now that I am a spray baster it couldn't be easier! I really cannot say enough about spray basting. Once you learn the quirks and what not to do, it really is awesome. It probably took me 1/2 hour to baste this whole thing. It is too bad that basting spray is expensive. The total for this quilt probably cost me $14 (including 40% off coupons at Joann's of course).


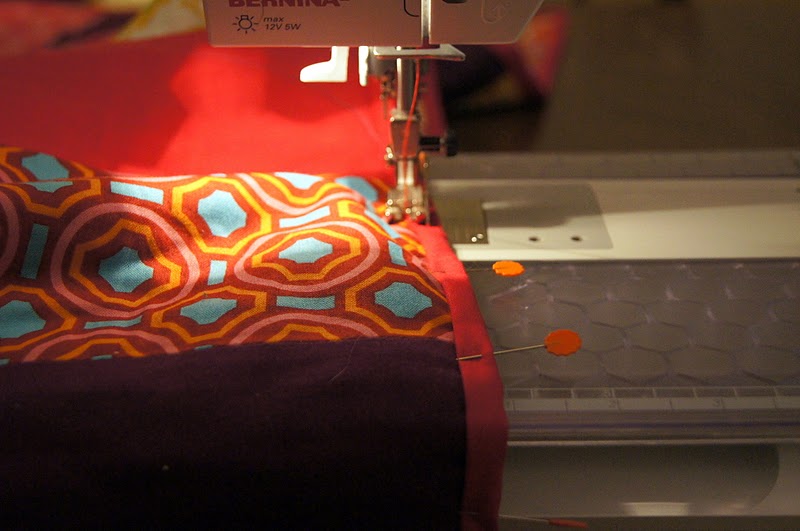
Time to get ready for quilting! I had a vision. See the plum colored fabric... I wanted to quilt a straight-line spiral all the way around the plum color. I had no idea which thread color to use. The fabric colors vary so much, that I didn't know what would work best.

Given how much purple there is in the quilt, I think that the purple wins. Also, give how much yellow there is on the back, I used a great yellow variegated thread for the backing.


(Getting the quilt folded and ready to go under the machine)
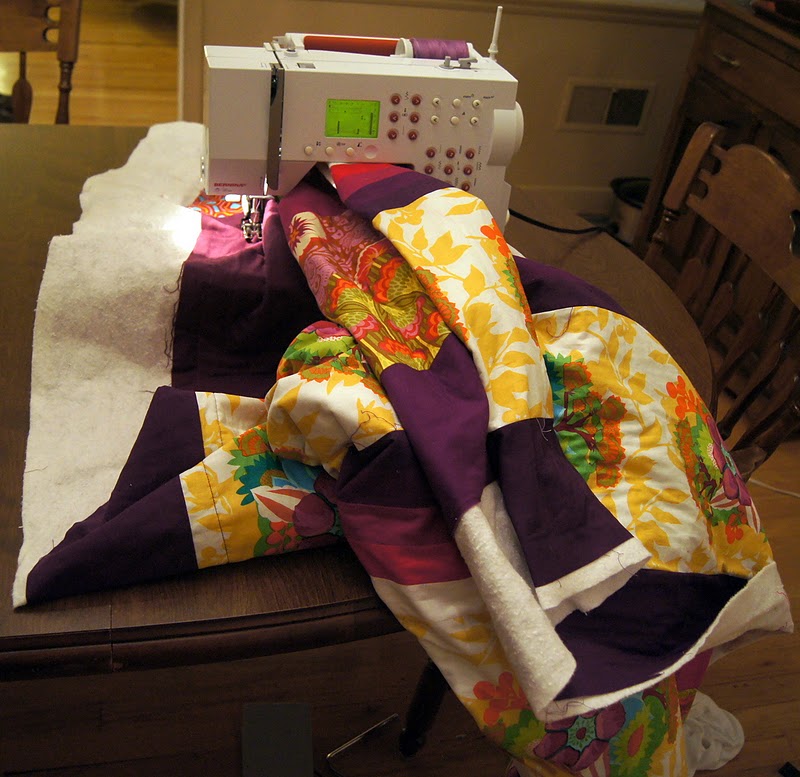
Can anyone tell me what is wrong with the picture above?
This is where the problems started. It took me 45 minutes to make the first "spiral" around the quilt and the entire time it was mostly miserable. Because of the size of the quilt, I was continually turning the quilt and sometimes, as shown above, I had THE ENTIRE quilt going through the neck of my machine. IT WAS MISERABLE. And, I thought that I was going to destroy my machine. I was literally shoving the quilt through and pulling and tugging on it. It wasn't good. I got halfway through the second "spiral" and called it quilts. This was not going to work. Especially not when I only had 2 days to complete it.
I had riiiiiiiiiiiiiippppppppppppppppppppppppppppp all of those stitches out. Thank you to Conan for keeping me awake.

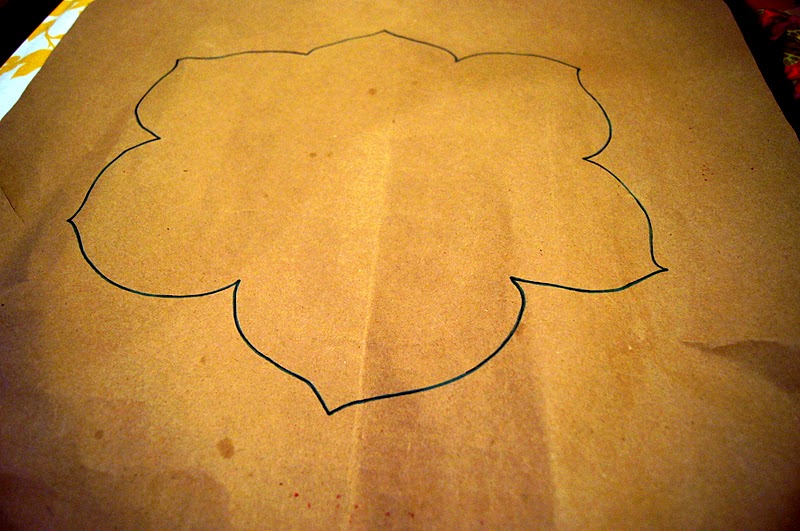
Ok. On to quilting plan No. 2. Motif quilting. I decided to trace the center flower and quilt that all over the entire quilt.


Then I had to practice. See... I am not good at free motion quilting. Not good at all. I am certainly better at it now though!


Now that I had the pattern "down" I chalked up the pattern over the quilt. Because the flower motif is about 15x15, I could only work by chalking up 2 or 3 flowers at a time, because I knew that the chalk would wear off too quickly. I did intentionally start and stop off the top and on the batting instead so that there wasn't any stopping and starting visible on the quilt. The whole quilting wasn't TOO bad. But the motif was a little too big. I would never do one that big again, ever. I think something under 8 inches would be amazingly easy to work with. I still had to fight with this quilt a little bit to complete the flower.

This was the first full flower that I quilted, and you do not need to tell me how "rough" it looks. It looks quite bad.

But, I did get a lot better!


(For me, this is a very good machine quilting job.)

(This one, not so much. At least I have learned to match the needle thread with the binding color, not with the quilt top color. It irritates me WAY MORE to have the thread show on the binding than on the quilt top.)
Plum Blossoms glamor shots...


My one small regret.... not hand quilting this center flower in time for the contest. How gorgeous would a wonderfully embellished focal point have been?


(Really Lauren, another cat picture?)
These are the pictures that I entered into the contest. Lighting in our house is SOOOO bad. You were allowed to enter 2 pictures, one of the entire quilt and another detail shot. Only 2 pictures! Brutal.


Do you like the quilt? What do you think, do you think Denise Schmidt will pick me to win? Haha, a girl can dream. We shall see...... results of the contest will be available on October 15th. I won't have to wait all that long.
Quilt Stats:
Fabric: Anna Maria Horner (obvi) Garden Party and bits of Good Folks. Also, I used gorgeous Kona Cotton solids.
Pattern: My own. One Big Log Cabin Block
Batting: Warm and White 100% cotton
Backing: More Garden Party and Kona Cotton solids used in the front
Size: Finished 75x75 square. It is a perfect size for snuggling. I already did it once today.
Be sure to check out my flickr account for all finished projects. Actually, this quilt knocks SEVERAL items off my Bucket List. It takes care of the following:
- Chomping into the Anna Maria Horner fabrics that I have been hoarding and was previously too scared to use
- Quilt a motif pattern over an entire quilt
- Quilt using variegated threads
Phew, long post!
Holler
Lauren, what a beautiful quilt! I love the purple stripes on the back and the Anna Maria Horner fabric is fabulous. I love what you did with it and the quilting is really ambitious. Good luck with the contest!
ReplyDeleteHey hey! The quilt looks great Lauren, you had me laughing through the whole post, wish I could have been there in person! Miss you!
ReplyDeleteOh, but what a beautiful quilt! I love the colors you used and that beautiful AMH motif. Thanks for linking me up!!
ReplyDelete