
So. Remember that post about wire baskets and bins and all sorts of fancy storage for the craft room? Well, apparently it will take me a lifetime to save up enough money for all of the storage bins I need for the craft room. Given that the average bin/basket was like $20, I knew that I needed to come up with another solution. I searched and searched for fabric bin tutorials until I landed upon this tutorial for storage cubes from one of my very favorite bloggers, Crazy Mom Quilts.
I followed the tutorial 100% to the T.
Step 1: cut out your fabric. 5 6x6 squares of both your showcase fabric and your liner fabric (both heavier weight fabrics).


(Don't you love this geometric pattern? Its very Mediterranean I think. I love it)
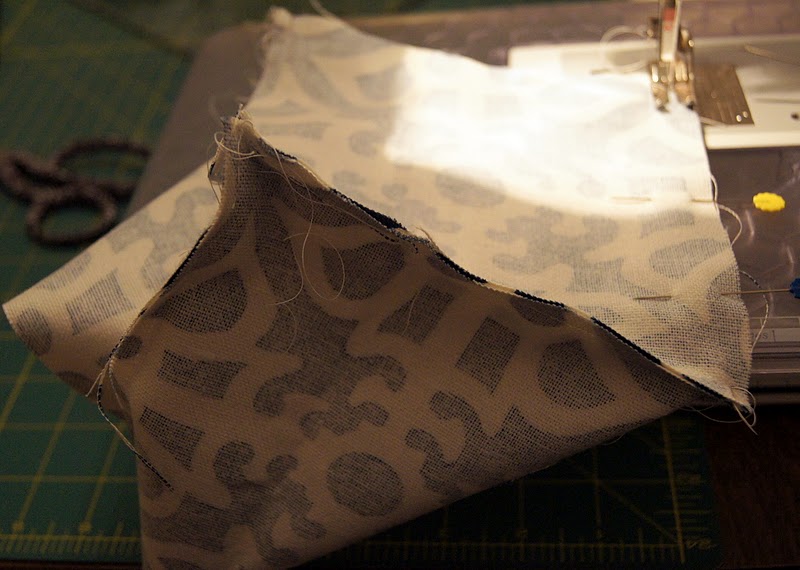
Sew the 4 sides of the showcase fabric together:


Do the same thing with your liner fabric. Sew the 4 pieces together. Then sew a 5th to the bottom.

Sew the 5th 6x6 piece to the bottom of the 4 already shown together for the showcase fabric. NOT THE LINER. NOT THE LINER. NOT THE LINER.

(You should end up with this!)
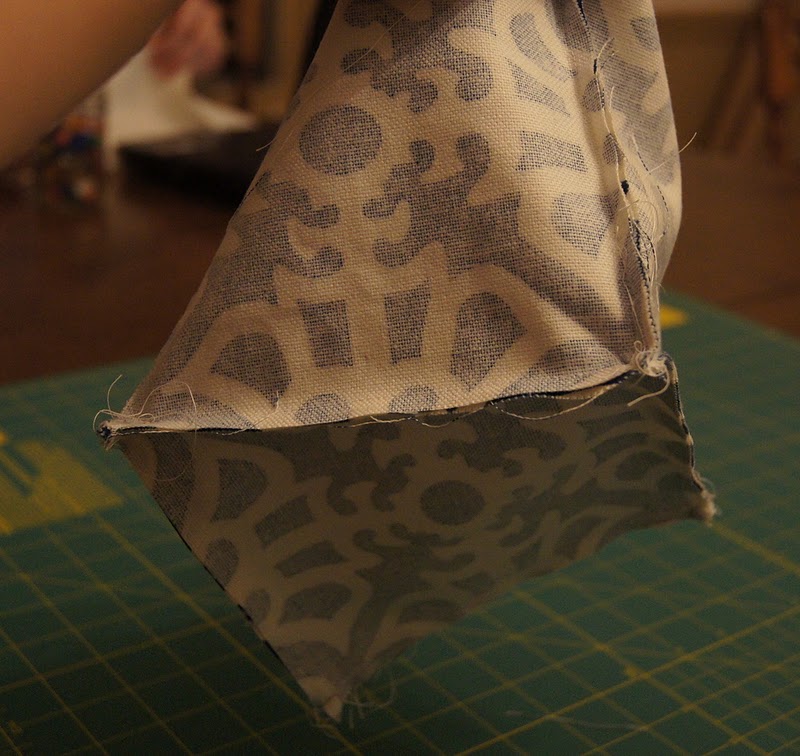
(Or this!)
For the liner fabric, sew the 5th bottom piece on all the way on 3 of the 4 sides, but on the 4th side, leave 4 inches of unsewn space as marked by the pins. You need this space available to flip the block inside out. Does that make sense? If not, Crazy Mom's instructions are probably better. You should backstitch at the pins because you will be really pulling on these seams later.

You should now have both the showcase and liner fabric all used up. You have used all 5 sides that you cut out. To prep for the next step, keep the showcase fabric right-side-in and the liner fabric right-side-out. Set the liner right-side-out directly inside the showcase fabric.

Pin around the top edges to ensure that the corners of the showcase and the liner both match up.

Sew around the edge you pinned:

Using the 4 inch gap that you hopefully left in the liner, pull the box inside-out.


Then, cut thick cardboard pieces to measure 5 3/4 square (I think, check back to Crazy Mom). I think that I used a Kashi snack bar box and it was really thick. It worked perfectly. I didn't take good pictures of this process, but fit all of those 5 cut-outs between the two layers of fabric for all sides. You will DEFINITELY need to bend the cardboard in order to fit it through the 4 inch gap. Definite bending occurred here. Don't be scared, just do it. Did I men

Once completed, you topstitch around the entire top of the bin to give it a much more finished look.

VOILA! Looky Looky I made a fabric bin.

Overall, I really loved this quick and easy sewing project. It was really very very easy.
I would change things though. I am not sure what or how. But the liner didn't really fit well. I am not sure if that is because its linen which can be a P.I.T.A. or it is something that I did. Anyway, I would like this bin to be stiffer. Has anyone every used interfacing? I never have and I am slightly intimidated. Does anyone know of a fabric bin tutorial using interfacing? If so, can you please share?
I am so excited to finally add a crafting item to my finished projects list. I feel like I haven't actually finished anything in months. Note that there will be more of these in my future. You can see the finished bin picture @ my flickr account. You can also find links to all of my finished projects, food items, and home decorating on my sidebar. Check it out!
Holler
Nice! Looks quite easy. If you quilted the outside and/or inside of the bin before you put the bin together I bet it would create a much more stable bin and make the sides more durable? Just a thought, nice job!
ReplyDeleteI know this is an old post, but in case you're still looking I found a few on my travels: http://www.sewcando.com/2012/03/quilted-up-my-stylish-storage-box.html
ReplyDeletehttp://ayumills.blogspot.com/2008/05/tutorial-fabric-basket.html . Cheers!