
I am so excited to show you this project!

If you've been following me for a while, you may have seen this Quilted Christmas Stocking that I made last Christmas. It was my first Christmas stocking, and when I pulled it out of the Christmas bins this year, I really wasn't too fond of it.
I actually don't think that I like the look of quilted things for my home, aside from Quilts of course.
Does anyone else feel that way? I think I'd rather have certain items in my home have a more formal look than quilted goods offer.
Anyway, that meant that I had to find a new Christmas Stocking and possibly tree skirt pattern this year. I saw this great pattern at the Sewing Shop and thought that I['d give it a go. Actually, I am teaching a few classes on this pattern.

I have been holding onto this Anna Maria Horner velveteen fabric for quite a while now, as I think that it SCREAMS Christmas to me, without being too theme-y. Look how great it looks paired with a dark green cotton sateen (I think) fabric that I decided to use as piping.

You can see in the pattern above that there are two stocking options. Given that I want to use the same fabric for each stocking, with the same piping too, I decided that I would make the Elf Style stocking for me, and the other stocking for my Husband ("C"hris).


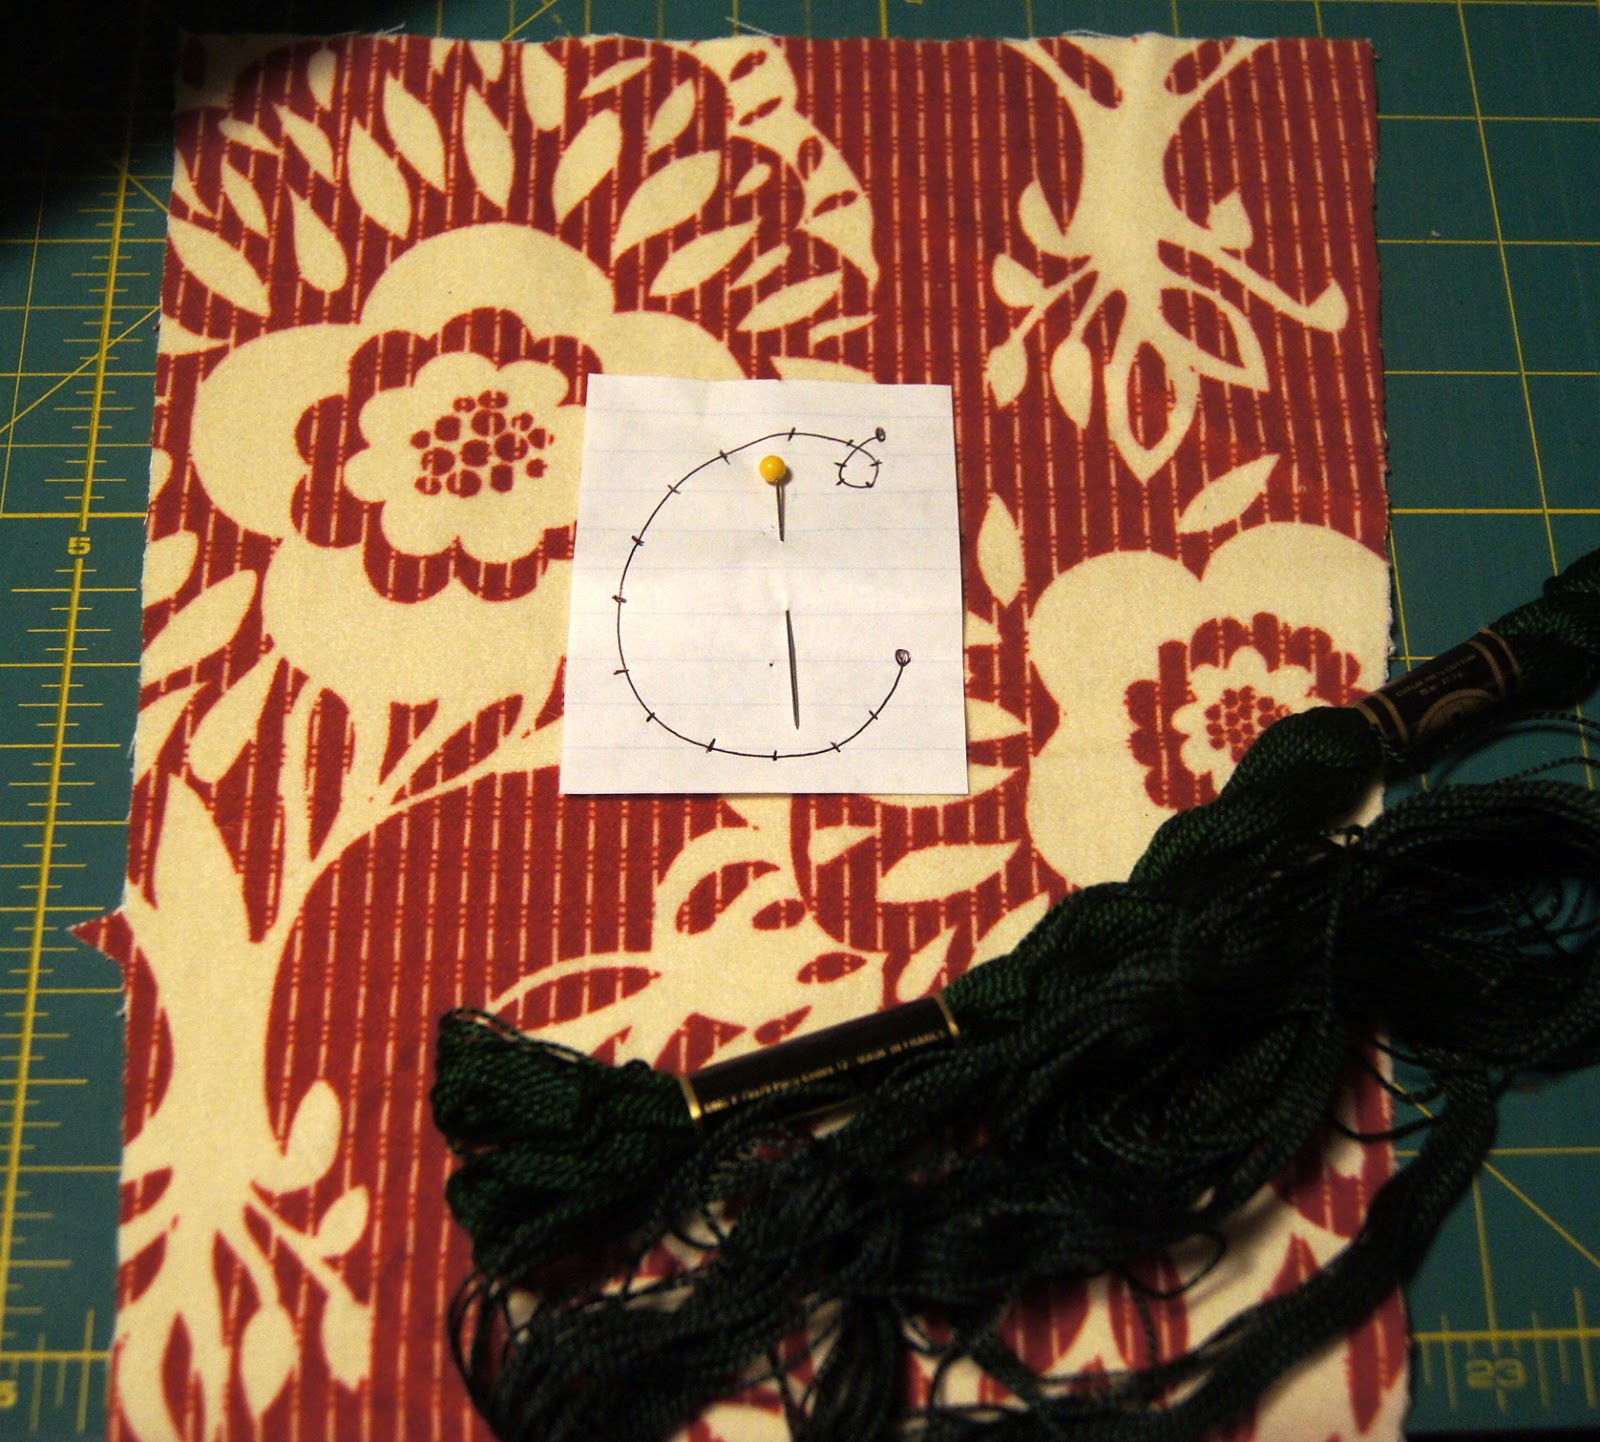
Ok so I knew that I would use Anna Maria's velveteen fabric as the base fabric, and I knew that I would use the gorgeous sateen fabric, but I thought that monogramming our initials onto the stocking would be perfecccctt. I am new to embroidery, so I did a few practice runs, naturally.


I definitely liked the second "C" better than the first. It was also SUPER easy and quick to make. Then I had to play around with the scale and placement of the letter on the stocking. I wasn't sure if I wanted it big or small, in the center or near the top, or what.


I am not sure how real embroiderers would go about making this project, but this is the only way that I could think of.

I was also trying out with different thread colors. I was using Pearle Cotton in size 5. It has a gorgeous sheen which is perfect for this formal yet informal stocking. I ended up using the two green combo at the bottom. I wasn't sure that I wanted to introduce a new color to the mix.


Here are some progress pics:


I think that the C turned out pretty well!!

Then I made some piping -- I do think that I need to use bias strips to make the piping next time, be cause I am going around curves which were very tough.


Here is the finished stocking!! Don't you love it? Now I have to make one for myself too...

All in all, this project was really really very easy. The embroidery was super simple and the stocking pattern was easy peasy. I do think that I changed the pattern to eliminate the cuff and other embellishments that I just don't think are my style.
HOLLER!


