Showing posts with label fabric. Show all posts

Thursday, October 3, 2013

{Knitting} Nido VT Shopping & a Herringbone Man Scarf

My loving, caring, generous husband always harasses me for the fact that I never knit him anything, ever. My response is always the same thing, "when we were dating in college I knit you a beer cozy with your school name and in your school colors and you never used it and don't even know where it is" and then he is promptly silenced. He also only says these things in front of people, so I can only assume that the tone of my retort wasn't the most pleasant.

We recently found ourselves in Burlington for Labor Day weekend and I knew that if I was in Burlington I was absolutely-most-definitely-no-doubt-about-it going to the shop Nido right on college street, downtown. I learned of this shop through a giveaway I won many moons ago, and just knew I had to make it there. Ashley from the blog Film in the Fridge raves about Phiona's fabric selection on her blog all the time, and posts some pretty great projects she has done with a lot of the fabrics she buys from Nido, including several projects with handstamped fabrics, which is awesome!


The shop was in a great location right in the heart of downtown Burlington, next to all the shopping and restaurants. I walked into the shop and was very warmly greeted by the worker there, who I later asked "Are you the owner, Phiona, by chance?" and in fact she was, so we quickly struck up conversation about all the different fabrics in her shop and Ashley from Film in the Fridge and lots of other crafty things, and some personal things too like how it was her first day back from work after a 2 weeks off because she got married (veryyy exciting).


I have got to be the most annoying shopper ever. I touch everything. Literally. I have to touch and fondle everything in every store I am ever in. I got yelled at a lot in Paris! I spent about an hour groping all of the beautiful fabrics, yarns, and other goodies and Phiona didn't say boo about it, which was awesome. 


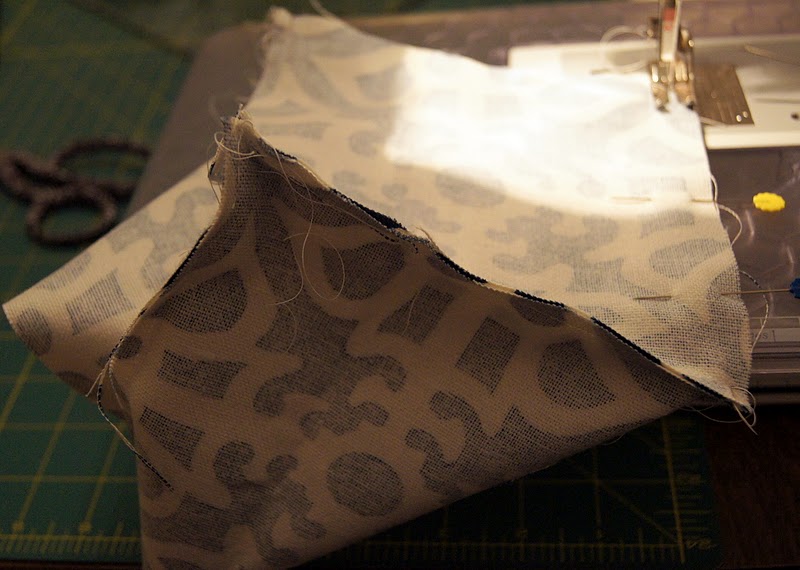
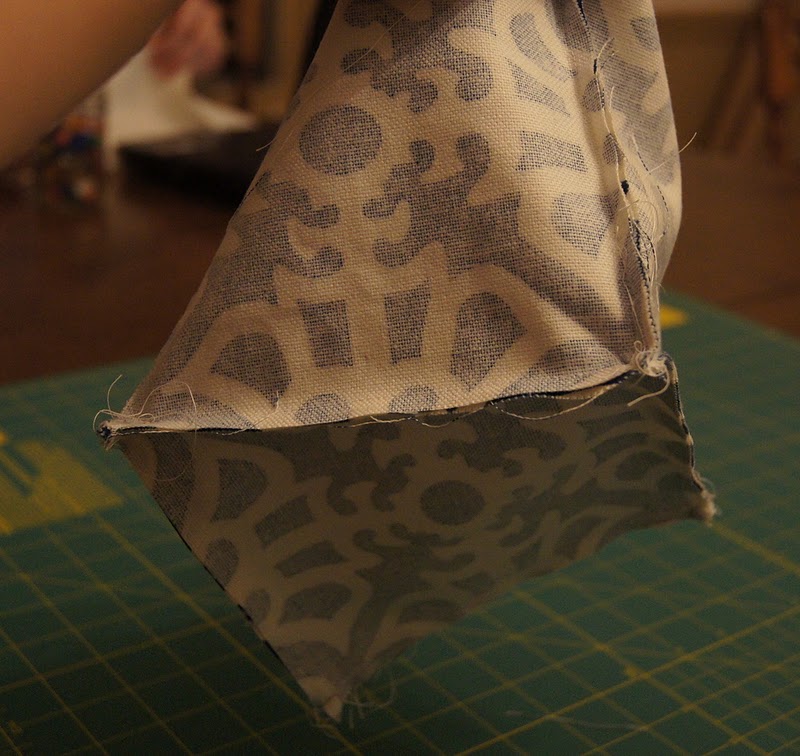
She had some spectacular fabrics that I haven't yet seen in person, like the new Heather Ross line, Nani Iro double gauze, Anna Maria Horner's Rayon Challis, Robert Kaufman's Essex Linens, etc. I totally fell for the Nani Iro prints. I honestly didn't even know what they were or that they existed at all. They are so beautiful and luxurious and subtle at the same time. I grabbed 1 yard of each of these prints and I plan on making some type of cowl or wrap that I can wear at work. I also got a yard of this Scandinavian inspired linen print. I don't know why but that print just screams Christmas to me, so I had to grab some, as I've been eying it for a while now.


Isn't this Nani Iro print unbelievably beautiful? It almost looks alive. I am obsessed with it. It reminds me of a Monet painting, don't you think?


My main purpose for the trip was actually for some yarn, not fabric. I mean of course I got both.  She carried wonderful yarns in the store, all from the Northeast. She had some Swan Island Yarn and lots of other brands that I hadn't even heard of. I ended up finding some BEAUTIFUL yarn in gorgeous fall colors and was instantly inspired. Finally all of my husband's nagging got to me. I don't know why really, but I think that I was mostly inspired by the yarn color, a beautiful golden wheaty mustard color with a little bit of green in it and a lot of depth to it. Husband has a dark charcoal winter coat so I think the mustard hue will go nicely. I bought two skeins that are about 300yds per skein and the yarn is probably a 3 weight yarn, not quite worsted 4 but not a fingering weight yarn. What is that, DK weight? I also bought some of the same yarn in a beautiful berry color to make myself a cowl. 


I searched the internet and blogosphere for a herringbone scarf pattern that was wide enough and had all of the things I like in a scarf, like a nice border to finish the scarf off on the sides and prevent curling. I didn't find everything I was looking for, but I found the general pattern for the herringbone section and then just did a quick gauge to see how many stitches I needed to cast on in order to get my desired width. Like I said, the yarn is DK weight, so I used a set of size 7 circular needles (my fav) and cast on 71 stitches, with a 3 stitch border on each side, so 6 of those stitches are for the borders only.


I haven't worked so diligently on a knitting project in a while! This scarf is taking me FOREVER. I think I probably should have upped my needle size by one or two so the yarn went a little farther and the scarf didn't take as long, but I know that I will be happy with the final product, and hubby better be too! His birthday is on Halloween (I know!!) and hopefully I will have the scarf done by then! UPDATE: Currently I am through 1 of the 2 skeins of this fantastic yarn and the scarf is about 48 inches long and I've been knitting it for about a month now! I will probably just knit through both skeins, or ask hubbs how long he wants it (as if he even knows what he wants).

As for my cowl, I am not sure what I want the cowl to look like. I will definitely be increasing my needle size to either an 8, 9, or 10. I will have to whip up some test pieces in the pattern I choose, I want it a little looser than my hubbs scarf. Maybe I will make a Purl Soho Herringbone inspired cowl to match hubbs? I was also eying this Hamanasu cowl from Quince & Co.. Or I could make the ever popular honey cowl that everyone is raving about.  Who knows? It is probably going to take me another month to finish this one so my cowl might be a tax season project. 

What has inspired your projects lately? A specific fabric or yarn? A picture? Pinterest, lol?

HOLLER

Sunday, September 8, 2013

Summery Patchwork Quilt

I've had a fat quarter bundle of Lotta Jansdotter's fabric collection called "Echo" in my stash for quite a while now and these last few sunny summer days left really got me in the mood to use them up. I'm not sure why, but these fabrics just scream summer to me. 


I separated the fat quarter bundle into 3 different fabric groupings. The first bundle of fabrics for the quilt were navy, gold/yellow, gray, and a little brown. 


I was looking for a solid fabric to compliment the prints, and nothing screams summer like a natural linen fabric. Rumor has it that linen shrinks considerably compared to the quilting cotton, so I washed my linen yardage first.


I cut the fabric into 5 inch squares and mapped out a patchwork quilt pattern. I randomly selected print fabrics and alternated them with the natural linen fabric. Well, it was mostly random, my only rule was that the printed fabrics have to be more than 2 blocks away from the same print. The semi-randomly placement of the fabrics worked out pretty well, with only a few re-arrangements to get the final quilt layout set.


Now I have the quilt top fully pieced and I am trying to decide on backing and a quilt pattern. Part of me wants to buy some yardage of one of the Echo prints to complete the back, but maybe I can fish some yardage out of the stash. Not sure yet, but hopefully I will get the quilt finished soon. My quilting time is definitely dwindling now that knitting season is in full swing, so we shall see.

HOLLER!

Thursday, January 12, 2012

Copy-Cat

I'm not one of those Vera Bradley "people". I don't have a collection of her bags, I don't have  6 or 7 patterns that I am obsessed with, nothing like that. I did however buy this little diddy.


I was definitely first attracted to the pattern. I LOVE LOVE LOVE poppies! And... I had a giftcard, so I thought, what the hey! I am not really sure what exactly it was supposed to be, but I knew what I was going to use it for. 


See those two pockets in the photo above? I use the one on the left for coupons and I use the one on the right for other important documents that I need in my purse.

I keep this in my purse at all times. It is nice and slim, so it doesn't take up too much room. There is just enough space to put all of those Bed Bath and Beyond coupons in nicely. I wouldn't know what to do with all of that stuff without this thing. 

Yadda  Yadda Yadda... I want to make some! I haven't tried to replicate anything yet, so I tried to draw out every element of the pattern and figure out all of my measurements and seam allowances, etc. before hand.


I think that I am going to use the following fabric below. Have I told you that I am totally over winter? I am not even sewing for it. I don't care, really. REALLY. It is tax season, so I won't even be outside for the next 4 months anyway, so I might as well just skip it. Given that consideration, I am moving onward and upward to sewing with spring/summer prints. 


Stay tuned for the finished product!

Holler!

Tuesday, September 20, 2011

Fabric Box Trial (& Tribulation)

So. Remember that post about wire baskets and bins and all sorts of fancy storage for the craft room? Well, apparently it will take me a lifetime to save up enough money for all of the storage bins I need for the craft room. Given that the average bin/basket was like $20, I knew that I needed to come up with another solution. I searched and searched for fabric bin tutorials until I landed upon this tutorial for storage cubes from one of my very favorite bloggers, Crazy Mom Quilts.

I followed the tutorial 100% to the T. 

Step 1: cut out your fabric. 5 6x6 squares of both your showcase fabric and your liner fabric (both heavier weight fabrics).

(Don't you love this geometric pattern? Its very Mediterranean I think. I love it)


Sew the 4 sides of the showcase fabric together:


Do the same thing with your liner fabric. Sew the 4 pieces together. Then sew a 5th to the bottom. 


Sew the 5th 6x6 piece to the bottom of the 4 already shown together for the showcase fabric. NOT THE LINER. NOT THE LINER. NOT THE LINER.
 

 (You should end up with this!)

(Or this!)

For the liner fabric, sew the 5th bottom piece on all the way on 3 of the 4 sides, but on the 4th side, leave 4 inches of unsewn space as marked by the pins. You need this space available to flip the block inside out. Does that make sense? If not, Crazy Mom's instructions are probably better. You should backstitch at the pins because you will be really pulling on these seams later.


You should now have both the showcase and liner fabric all used up. You have used all 5 sides that you cut out. To prep for the next step, keep the showcase fabric right-side-in and the liner fabric right-side-out. Set the liner right-side-out directly inside the showcase fabric.


Pin around the top edges to ensure that the corners of the showcase and the liner both match up.


Sew around the edge you pinned:


Using the 4 inch gap that you hopefully left in the liner, pull the box inside-out. 


Then, cut thick cardboard pieces to measure 5 3/4 square (I think, check back to Crazy Mom). I think that I used a Kashi snack bar box and it was really thick. It worked perfectly. I didn't take good pictures of this process, but fit all of those 5 cut-outs between the two layers of fabric for all sides. You will DEFINITELY need to bend the cardboard in order to fit it through the 4 inch gap. Definite bending occurred here. Don't be scared, just do it. Did I men


Once completed, you topstitch around the entire top of the bin to give it a much more finished look. 


VOILA! Looky Looky I made a fabric bin. 
 

Overall, I really loved this quick and easy sewing project. It was really very very easy.  

I would change things though. I am not sure what or how. But the liner didn't really fit well. I am not sure if that is because its linen which can be a P.I.T.A. or it is something that I did. Anyway, I would like this bin to be stiffer. Has anyone every used interfacing? I never have and I am slightly intimidated. Does anyone know of a fabric bin tutorial using interfacing? If so, can you please share?

I am so excited to finally add a crafting item to my finished projects list. I feel like I haven't actually finished anything in months. Note that there will be more of these in my future. You can see the finished bin picture @ my flickr account. You can also find links to all of my finished projects, food items, and home decorating on my sidebar. Check it out!

Holler

Wednesday, December 8, 2010

Christmas Stockings?

I have been playing around with fabrics to make Christmas stockings for Hubster and I. My goal was to have them match (or at least coordinate) with the tree skirt I made and posted about in my last post. 

I can't seem to nail down a good color scheme/pattern though. Here are pictures of the fabrics and fabric combos I am working with:


 (Reds! Apparently I don't have many bright reds in my stash.)

 (Some greens. A few more modern prints here)

 (I think that I like this color arrangement the best. I like the green and gold combo!)


(All the fabric)

I am very unsure as to the final product I am going to make. I have some ideas though:
  • I want to incorporate white fabric or maybe Kona Snow into the arrangement to brighten it up a bit
  • I don't think that I am going to use the DARK GREEN (almost black) pin dot fabric
  • Maybe the stocking part of the stocking (ie. not the cuff) can be made of a combination of red/white and green/white hourglass blocks. Then, the cuff can be a combo of the gold/white hourglass blocks. 
  • Maybe a combination of gold/red/white/green patchwork squares throughout
  • Maybe red/white/green candy cane-style striped 
  • Maybe one of each? Technically, I need 4. One for Chris, me, our "Boys" (2 boy cats, Gob & Tobias) and one for our "Girls" (2 girl guinea pigs, Daria & Delilah).
I have so many ideas floating around. Can someone just tell me what to do? 

xoxo

Monday, November 15, 2010

Figgy Rail Fence Quilt Beginnings

This weekend I had an entire Saturday to myself and I had the chance to use a stack of precuts that I bought, umm, 2 years ago? The fabrics came in a kit to paper piece a Grandmother's Apron quilt. I really didn't feel like doing that though. I used the fabric but totally changed the pattern and really love how it came out.

First things first.... fabric from the kit I bought:


(it consisted of 80 precut 2.5 x 6.5 pieces, and some 2 x 8 strips, and some fabric yardage)

Then, I decided to make rail fence blocks out of the 2.5 x 6.5 strips:

 (unpressed)

(seams pressed)

(seams pressed, squared up, and threads cut)

Playing around with the layout:


All stitched together:

(stitched and pressed)

(laid out on the guest bed)


 Adding sashing strips:

(white Kona Cotton sashing strips added)

(corner blocks added to white sashing, and a blue border being added)

Adding corner blocks to the blue border:

(string piecing for some checkerboard corner blocks)

(cutting and pressing the checkerboard strips)

(4 checkerboard blocks pieced, finished 6 x 6 block for the border corners)

A fully pieced Figgy Rail Fence Quilt:

(with an appearance from Tobias)


(a final pressing of the quilt top)

 (me, showing off the quilt top)


The finished size will be a 46 x 46 square. I have no idea what size that is, maybe a crib quilt? I'll have to look up the measurements.

Now, all I have left are backing, basting, quilting, binding.... stay tuned!

Happy Crafting,
Lauren