Showing posts with label completed projects. Show all posts

Tuesday, November 19, 2013

{Knitting} A Manly Herringbone Scarf

I just finished this Manly Herringbone Scarf I started in October for my Hubby. I haven't finished a knitted project in A WHILE, so this one felt really great to finish. 


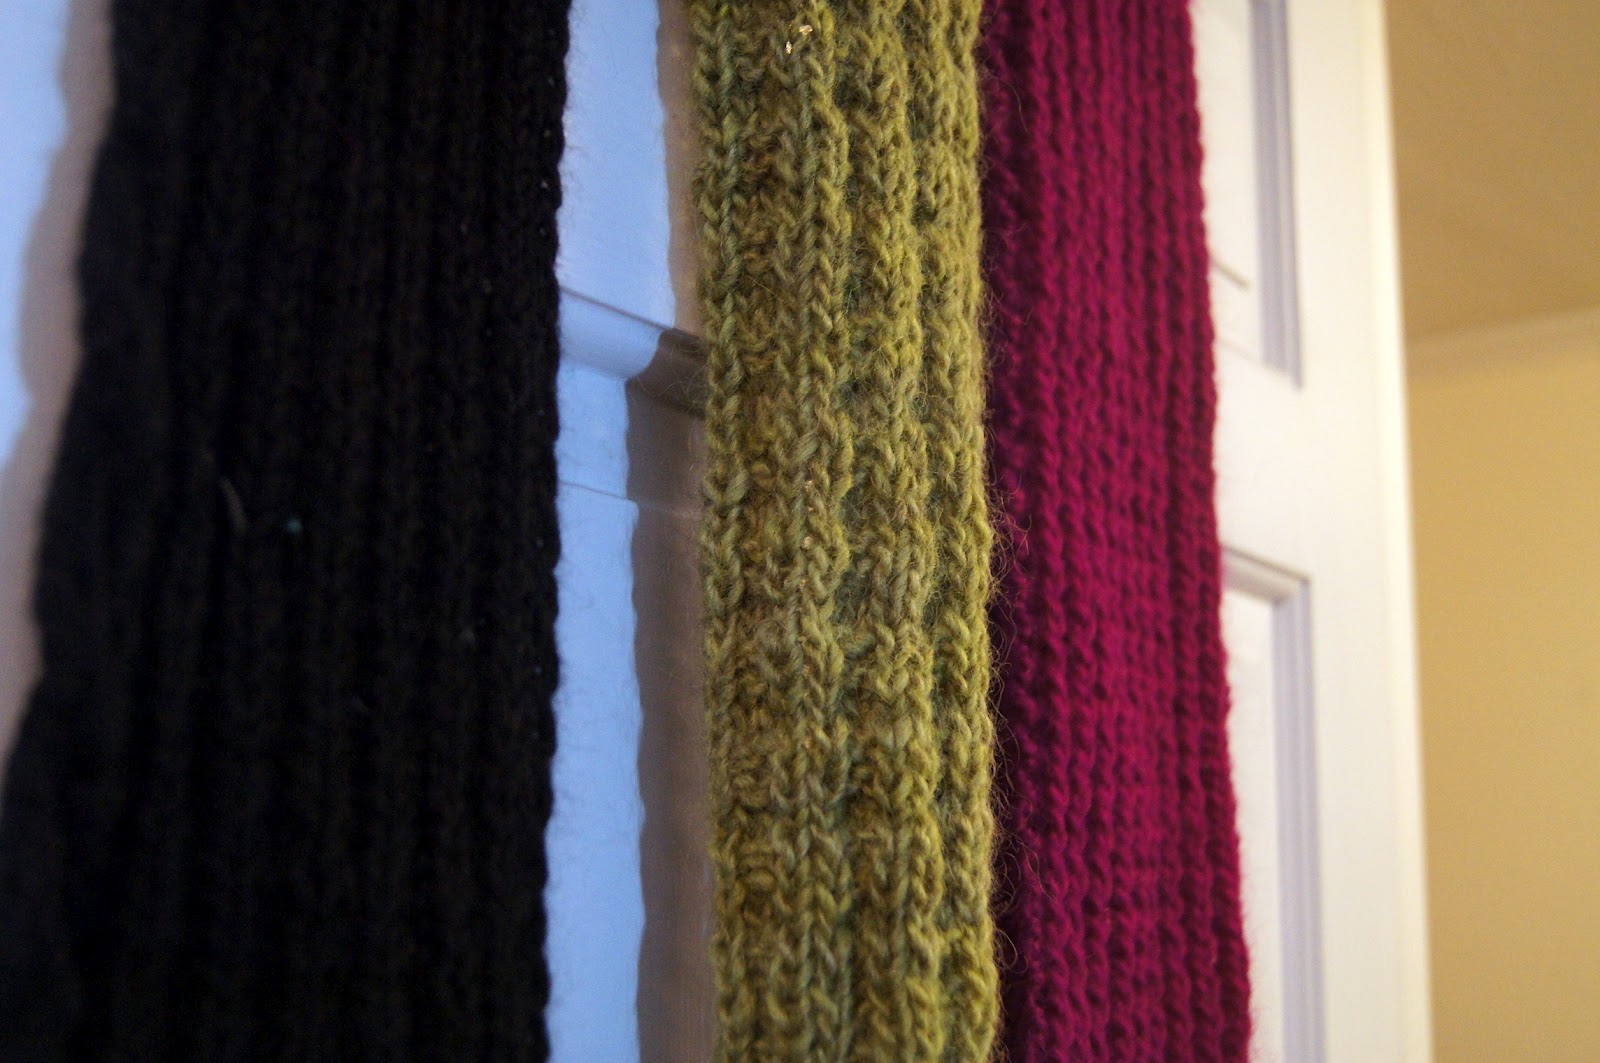
The yarn I used is Dirty Water Dye Works "Edna" yarn in a great mustardy yellow color. I bought the yarn on a trip to Burlington, Vermont in September at a shop called Nido.

The needle size recommended by the yarn label was a size 5-7, but I wanted a super thick and warm scarf, so I used a size 4 (circular needles). I went through almost 2 skeins of this yarn, at 380 yards be skein! NO WONDER IT TOOK SO LONG! 


The scarf is about 14x70 inches and it looks GREAT on my Hubby with his dark charcoal wool coat. Considering it took me almost 2 months of seemingly constant knitting, if he loses this thing I am definitely going to make him suffer!


Then, because my husband wouldn't pose for the camera, I attempted a shameful selfie. I know it is a sad attempt and I apologize for subjecting you to it. Also, my forehead isn't 300 shades darker than the rest of my face. I promise. 


That's another finished project off of My Bucket List! Check out My Bucket List for all of the projects I want to complete, and check out My Finished Projects for everything I've completed so far (including lots of food!). Also, check out My Flickr Page for another summary of my finished projects!


Thanks for checking in! 

HOLLER!

Sunday, April 28, 2013

Knitting Needle Roll

Last week I did some more sewing for myself! To compliment my crochet hook roll, I made a knitting needle roll out of the same fabrics, a black and white linen and sketchbook-ish raspberry red floral print.


I wanted this roll to fit all sizes of knitting needles up to a 17, and in both the shorter  9/10 inch height and the taller 16 inch needle height. I also wanted the top flap to completely cover all of the needles, so that none of them slip out if I am carrying the needle roll around in a bag.


Don't they make quite the pair? Now onto a Double-pointed Needle Roll and a Circular Needle Roll!

Check out my Flickr page and Finished Projects page for all of the project I've knocked off My Bucket List.


HOLLER!

Tuesday, April 23, 2013

Some Sewing

As most of you know, April 15th has come and gone and now this CPA can get back to some normalcy for the first time in a long time. 

I worked on a few projects sparingly throughout busy season, but none of them are in a state to be photographed for your enjoyment. 

I've done my fair share of day dreaming over the past few months and knew that one of the first things I would work on was getting organized!  First up .... a revamp of my knitting and crocheting tools was in order for sure. 


I totally ditched my previous crochet hook organization before I could snap a picture of it for you, as it was pretty hideous. It was one of the first projects I worked on when I started sewing a few years ago and it was truly atrocious. 

I happened upon this really great black & white linen fabric and decided to use that as the outer fabric, and then walked by this raspberry red sketchbook-like floral print that I quickly became obsessed with. Do you think they pair well???


I originally wanted to embroider each section with the respective needle size, but knew that if I did that before I actually sewed the thing together, there would be no chance of the embroidered section actually lining up properly. So I opted out. I also tested some fabric stamping, but it just wasn't crystal clear enough for my liking. 


I tested a few different models of this baby before I settled on this exact pattern.

For such a simple item, it certainly took a lot of thought. I considered the number/sizes of steel crochet hooks vs aluminum vs wood, the varying heights of the different styles of hooks as well as the different brands of hooks, etc.


Do you love it as much as I do?

How much would you pay for it at a craft fair? 

I am sooo excited to get organized after a hectic busy season and was even more excited to knock another item off my Bucket List. See this project and my other projects at my Finished Projects page and Flickr Account.

HOLLER

Saturday, September 15, 2012

Cooking {First Try at Creme Brulee}

I looooooooooooove Creme Brulee. 


I mean seriously, I am obsessed with it. 

If it is on a menu, I will order it. 

I will also NOT share it. Don't even try. Ask my husband or girlfriends.

I will also savor every single last bite of it, taking upwards of 25 minutes to consume the entire thing. 

I will also not care one bit.

I will also consider ordering two. 

That may or may not have happened in the past. 

Whatever don't judge.

You guys know me, I'm intimidated by the stupidest stuff. The seemingly fancy stuff, even the stuff I have been eating my whole life, like Creme Brulee, intimidates me. Or maybe its not intimidation, but maybe by making it myself I am taking away some of the allure of the dish? I am taking away the mystery that makes the dish so special?

I don't know. Whatever it is, it doesn't matter anymore because I have semi-successfully made Creme Brulee. 

1) Prepare a rimmed baking sheet with a dish towel in the center. 


2) Get your creme brulee dishes ready, or your ramekins.


3) Get your vanilla beans prepped and ready. Slice them down the side and scrape out all of the vanilla beans. Also, taste a few while you are at it, they are amazing. 
 

(Please ignore my gold nail polish)


4) Make your custard, by heating heavy cream with the vanilla beans and pods. 


5) Make the egg mixture part of the custard by whisking the eggs with sugar. 


6) Strain the heavy cream mixture through a sieve and then mixed the egg and heavy cream mixtures together.


7) Boil water and pour the boiling water into your rimmed baking sheet. 


8) Pour the mixture into you creme brulee dishes or ramekins.


9) Bake for maybe 35 minutes? Can't recall. 


10) Top with sugar, and try to light this baby on fire. I did a double dose of sugar, caramelizing between layers. 


Then eat it. Savoring every bite. Lick the bowl clean, please. 

HOLLER!


Wednesday, September 12, 2012

A Trio of Scarves

I have been knitting, a lot. 

I hurt my back/abdomen a few weeks ago and haven't really been able to do much. I was feeling very pathetic and useless, so I decided to check out my current knitting WIPS. 

I have an agreement with my knitting self. I am NOT allowed to start anymore knitting projects until I finish the WIPS I have. 

I grabbed these 3 already started scarves and finished them. 

The one on the left is a black cashmere 2x2 ribbed scarf, with a cable on the end. 

The middle scarf is a pea soup green wool waffle knit scarf. I believe I snagged up that yarn at the Big E a few years ago. 

The scarf on right is a magenta mistake stitch ribbed scarf. I have no idea what kind of yarn it is, someone probably gave it to me as a present.


As you can see in the pictures above, these scarves definitely needed to be blocked. Especially the green one, as it was completely curled up.

Confession ----- I have never blocked anything before. Mostly because I am too lazy. I have also never knit clothing before, so maybe that's why? Either way, I know blocking really gives hand knits a professional look so I had to stop being lazy and block these babies.

 (Before Blocking)

 (After Blocking)


Before blocking:


 During Blocking:


After Blocking:


Here is the Cashmere scarf. I didn't want to use my steam iron on it as I did the others. I wasn't sure what all of that heat would do to delicate cashmere.  I decided to opt for the pin, spray, let dry method that a lot of bloggers use for more delicate blocking.


I really wanted the finished scarf to accentuate the cabled edging.  I did go through all of the extra effort of adding that cabled edge, so I wanted it to really POP.


I kept the scarf at a consistent 7 inch width throughout the pinning process. 

The blocked, finished scarf actually only measured 6 inches. I lost an entire inch after I unpinned. Actually, I think that I lost more than that after I left the room. Booo.


Here is the before shot again:


 Here is the after:


Ok there it is! I think the blocking worked BEST on the 100% wool scarf. I really am in love with how it turned out. I guess I still need to work on my cashmere blocking skills. Does anyone have suggestions??? 

HOLLER!