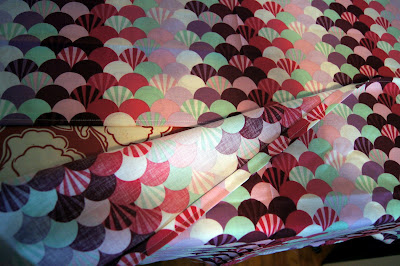
It has been a while since I have been crafting!
It was actually just our One Year Anniversary of buying our first home! That mini-milestone kind of made me a bit stir crazy, wishing I had gotten a ton more accomplished in the home over the last year. I went on a massive Craig's List furniture shopping spree, and much furniture re-arranging has taken place recently.
Anyway. Back at the crafting and it feels soooooo good.
I finally finished the Pillow Sham that I had in mind for the My Sweet Charli series.
I just 'bought' a Bernina Ruffler Foot with some credit I earned at the sewing shop where I bookkeep. So I decided that I wanted to use it in this project, and make a Ruffled Pillow Sham. Never having made a pillow sham in the past, I figured that I would search for a tutorial.
I came across this tutorial from Living With Punks blog. It was a great tutorial and I pretty much followed all of the instructions. I haven't followed her blog before, but Susan did a really great job on this tutorial, and if you check out her blog it looks like there are a bunch of goodies to check out.
As per her instructions, cut and press a very long strip of fabric for the ruffle.
OK then I got to USE the actual RUFFLER! I didn't test out the ruffler before hand, but I did follow several YouTube tutorials while I was using it and it was VERY EASY and VERY AWESOMEEEE!! GET ONE GET ONE GET ONE.
Here are some more action shots.
Here are pictures of the closure, very simple.
Then I had to sew all of it together, right sides in. I rarely pin because I am far too lazy, I would rather just go/sew slowly. But because this was a first-time ruffling project, I wanted it to be perfect. So I used about 75 pins!
I backstitched around the enclosure and around the corners for added security!
Finished project, all sewed together!! I was a little nervous for the final review, as if I would have royally screwed something up and I wouldn't figure it out until I flipped the whole pillow right-side-in.
Check out my Finished Projects page for a link to all of the projects I've knocked off my bucket list.
HOLLER!


I am beyond stoked for this - I LOVE the ruffles!!! It's going to be so perfect - when it gets here :) xoxo
ReplyDeleteCharli's Mama